
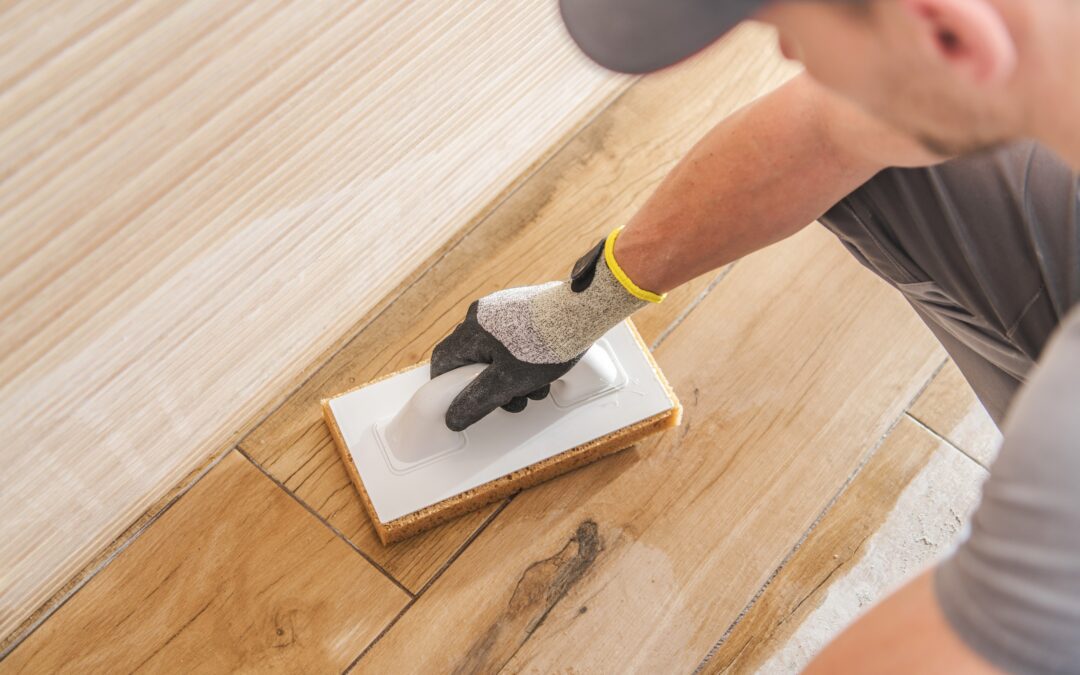
Timber flooring is one of the most valuable features in any New Zealand home or business property. It brings warmth, character, and long-term value, but after years of foot traffic, furniture shuffles, moisture, and daily wear, even the best floors can end up looking a bit lacklustre and worn out.
The good news is that changing your timber flooring is not the only solution. A professional wood floor restoration service can bring tired floors back to life while keeping the natural beauty of the timber.
Whether you’re renovating a family home or you’re putting money into retail floor polishing NZ services to give a commercial space a more lived-in look, understanding the restoration process helps you know what to expect.
Let’s walk you through each stage of a professional restoration and explain why an expert floor sanding in New Zealand achieves results that DIY methods can’t match.
Why Would You Need a Wood Floor Restoration Service?
Timber floors naturally age over time, and yes, a bit of wear adds character, but if the damage becomes excessive, it can lower both the look and the durability of the whole floor.
Signs that your flooring may need restoration include:
- Deep scratches and dents.
- Worn or patchy finishes.
- Water stains or discolouration.
- Fading from sunlight.
- Gaps between floorboards.
- A dull, lifeless appearance.
If you’ve already noticed these issues, it’s worth reading our article on 5 Signs Your Timber Flooring Needs Professional Restoration to determine whether it’s time to restore your floors. Step 1: Professional Floor Assessment
Every quality wood floor restoration service begins with a detailed inspection.
During this stage, professionals assess:
- Timber species.
- Age and condition of the flooring.
- Previous coatings or finishes.
- Moisture levels.
- Structural damage.
- Areas requiring board replacement or repairs.
Not every floor requires the same approach. Some only need polishing and recoating, while others benefit from complete sanding and refinishing.
Step 2: Preparing the Room
Before any machinery is brought in, the work area is carefully prepared.
This typically includes:
- Removing furniture.
- Protecting nearby surfaces.
- Securing loose boards.
- Removing old nails or staples.
- Repairing damaged sections where necessary.
Good prep helps ensure that the finish comes out even, and it also shields the nearby areas from dust, as well as any accidental damage that might happen while you work.
Modern floor sanding New Zealand professionals also use advanced dust extraction systems to minimise airborne dust throughout the projects.
Step 3: Floor Sanding
Sanding is the heart of every restoration project.
Professional sanding machines gradually remove:
- Old varnish.
- Surface scratches.
- Minor dents.
- Stains.
- Uneven areas.
Instead of getting rid of the extra timber all at once, specialists really move step by step through a few sanding stages, using progressively finer grits; each pass is more precise and controlled.
This process smooths the timber while preserving as much of the original floor as possible.
The result is fresh, clean timber that’s ready for finishing.
Step 4: Repairs and Filling
Once the floor has been sanded, imperfections become much easier to spot.
At this stage, professionals may:
- Replace damaged boards.
- Fill nail holes.
- Repair minor cracks.
- Fill small gaps.
- Secure loose flooring.
High-quality fillers are colour matched to blend in naturally with the surrounding timber, which makes it look seamless once the finish is on.
Step 5: Fine Sanding and Surface Preparation
After repairs are completed, the floor undergoes another round of fine sanding.
This final preparation:
- Removes excess filler.
- Creates a perfectly smooth surface.
- Opens the timber grain.
- Improves finish adhesion.
Any remaining dust is thoroughly vacuumed before coatings are applied.
Skipping this stage often results in uneven finishes or visible imperfections.
Step 6: Applying the Protective Finish
Once the timber is well prepared, it’s time to shield it.
Depending on your flooring and preferences, professionals may apply:
- Water-based polyurethane.
- Oil-based polyurethane.
- Hardwax oils.
- Commercial-grade finishes.
Each option gives other benefits depending on what the property really needs.
Residential spaces often lean towards a natural look and low odour, while retail floor polishing in NZ projects usually calls for a durable surface that can tolerate endless pedestrian movement. Picking the proper finish matters a lot for how long the refinished floor will remain in good shape.
Step 7: Drying and Curing
Although the floor might look dry within a few hours, the surface finish keeps curing for a couple of days.
Your restoration specialist will usually recommend:
- Avoiding heavy foot traffic initially.
- Waiting before replacing furniture.
- Delaying rug placement.
- Maintaining proper ventilation.
Following these instructions helps prevent untimely wear while letting the finish reach its maximum durability, so it doesn’t get damaged sooner than expected.
Restoring Commercial and Retail Timber Floors
Commercial properties often require a slightly different kind of restoration process, mostly because the flow of use is just more intense. Shops, cafés, offices, and showrooms see way more daily foot traffic than residential homes, which means the wear pattern tends to show up quicker.
Professional retail floor polishing services in New Zealand often involve:
- Faster-curing commercial coatings.
- Extra wear-resistant finishes.
- Flexible scheduling outside trading hours.
- Minimal business disruption.
- Maintenance plans for ongoing protection.
A polished wooden floor gives off a more professional vibe and, at the same time, helps businesses keep things feeling inviting for customers. It’s a small upgrade, but people notice the overall atmosphere more than what’s behind the counter.
How Long Does Wood Floor Restoration Take?
Project timelines vary depending on:
- Floor size.
- Amount of damage.
- Required repairs.
- Chosen finish.
- Weather and humidity.
A typical residential restoration usually takes between two and five days, while bigger commercial projects can require even more time. Even though restoration comes with a bit of temporary inconvenience, a well-restored timber floor can stay attractive for many years if you keep up with regular maintenance.
How to Extend the Life of Restored Timber Floors?
After investing in a professional wood floor restoration service, proper care makes all the difference.
Simple habits include:
- Sweeping regularly to remove grit.
- Cleaning with timber-safe products.
- Wiping spills immediately.
- Using felt pads beneath furniture.
- Avoiding excessive water.
- Placing mats at entrances.
Restore Your Timber Floors With the Right Professionals!
If your timber flooring seems a bit dull, shows signs of use, and requires a professional to take over, Floorsanding NZ is here to help.
We have an experienced team that offers wood floor restoration services, floor sanding in New Zealand, and retail floor polishing NZ options made to fit both home spaces and business properties.
Get in touch today to arrange a free consultation and let us bring back that natural charm plus long-lasting durability for your timber floors.