
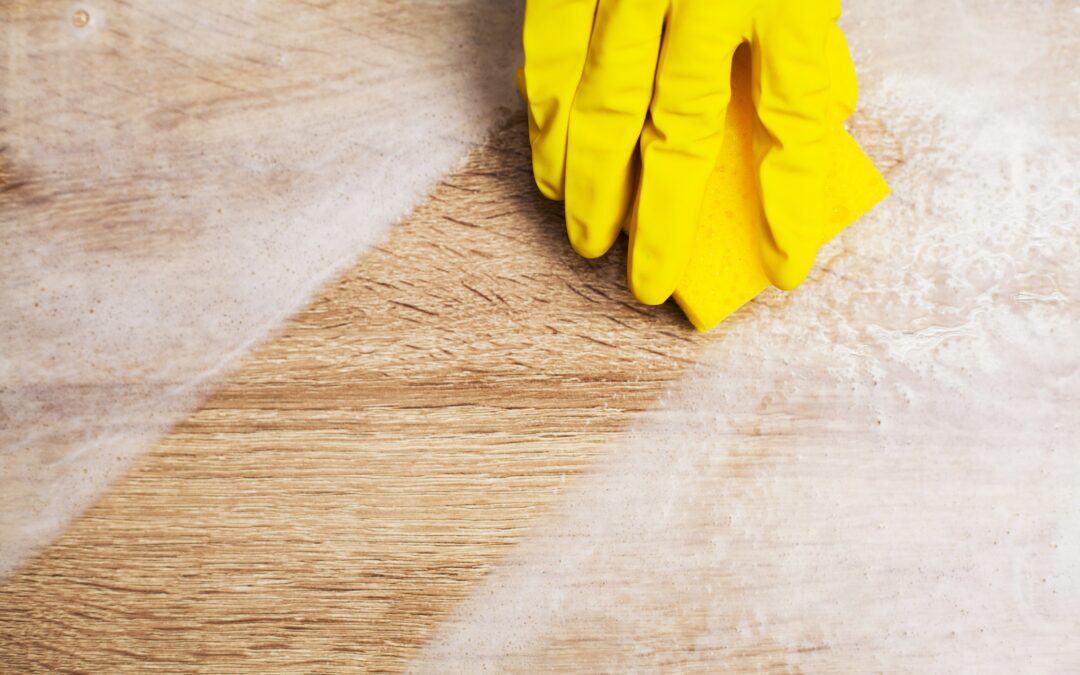
If you are thinking about getting your timber floors restored, one of the first questions you might toss up is: is floor sanding service dust-free? The quick answer is, not really, completely.
Floor sanding will naturally generate wood dust because sanding machines take off old finishes, scratches, stains, and worn timber from the surface. Still, with modern professional equipment and the right preparation, the amount of airborne particles can be cut down a lot, so it doesn’t spill all over your home or business as much as people fear.
If you’re a homeowner looking into floor sanding Auckland, NZ services, read on to know what typically happens during the whole process so you can prep your space and feel clearer about what to expect before the work starts.
Why Does Floor Sanding Create Dust?
Floor sanding works by using abrasive sanding equipment to gradually remove the upper layer of timber flooring. Different grades of sandpaper are used throughout the process, starting with coarser abrasives before progressing to finer grits.
The initial sanding passes remove old coatings, scratches, stains and uneven areas. Later passes smooth the timber and prepare it for its new finish.
Naturally, this process creates fine particles of wood and old coating material. Even when professional equipment is used, it is unrealistic to expect absolutely zero dust.
As Floorsanding NZ explains in its guide to timber floor sanding techniques, even modern equipment cannot eliminate every speck of dust. However, appropriate vacuuming and workspace ventilation can help manage it effectively.
How Much Dust Should You Expect?
The amount of dust produced depends on several factors, including the condition of the existing floor, the type of timber, the finish being removed, and the equipment used.
An older floor with several layers of coating, deep scratches or significant surface damage may require more sanding than a relatively well-maintained floor.
The size of the project also makes a difference. Sanding a single room is naturally different from restoring timber flooring throughout an entire house or a large commercial property.
However, professional floor sanding is designed to control the mess as much as possible.
What Is Dust-Free Floor Sanding?
The term “dust-free sanding” generally refers to sanding systems and practices designed to substantially reduce airborne dust, rather than literally producing no dust whatsoever.
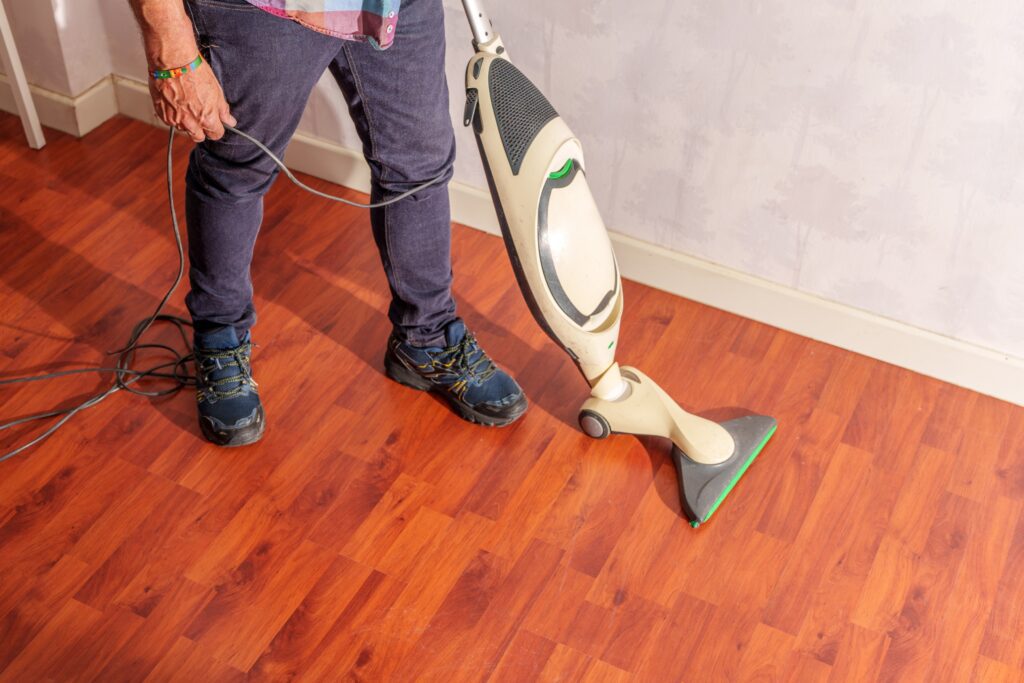
Professional sanding equipment can incorporate dust extraction systems that collect particles as the sanding machine works. This helps prevent large quantities of dust from spreading throughout the surrounding space.
Good preparation and cleaning are also important.
Before sanding begins, the floor may need to be cleared of furniture, floor coverings, nails, staples, adhesives and other materials. The surface is then assessed and cleaned so that the sanding process can proceed efficiently.
This preparation is one reason professional floor sanding Auckland services can provide a more controlled experience than attempting the job yourself.
What Happens During Professional Floor Sanding?
While every project is different, the process generally follows several stages.
1. Site Preparation
Furniture and other items are removed from the work area wherever possible. Floor coverings, nails, staples and adhesives may also need to be dealt with before sanding begins.
If furniture cannot be removed, it should be appropriately protected and isolated from the work area.
Floorsanding NZ’s wooden floor sanding tips for Auckland homeowners also recommend preparing the space beforehand and covering larger items where necessary.
2. Floor Assessment and Repairs
The timber is inspected for scratches, stains, uneven areas, damaged boards, and old coatings.
Some floors may require repairs or additional preparation before sanding can begin. This can include correcting uneven surfaces and addressing damaged or loose boards.
3. Coarse Sanding
The first sanding pass removes the majority of the old finish and helps level the surface.
This stage tends to generate more dust because more material is being removed.
4. Progressive Sanding
The floor is gradually sanded using finer grits.
Each stage removes marks left by the previous grit and creates an increasingly smooth surface.
5. Edge and Corner Sanding
Specialised equipment or hand-held sanders are used around edges, corners and areas that larger sanding machines cannot easily reach.
6. Cleaning
Once sanding is complete, the area is thoroughly cleaned to remove remaining dust and debris.
This stage is particularly important because the timber needs to be as clean as possible before any stain, sealer, varnish or other finish is applied.
7. Finishing
After the sanding and cleaning stages, the selected coating can be applied.
If you’re interested in the different finishing options available, you can also read Floorsanding NZ’s guide to oil vs water-based polyurethane.
Should You Leave the House During Sanding?
Because sanding can still produce airborne particles and noise, it is sensible to minimise the number of people in the work area.
Floorsanding NZ notes that wood dust can be harmful when inhaled and recommends temporarily evacuating the space during sanding work.
For households with children, pets or people particularly sensitive to dust and noise, discuss access and scheduling with your flooring professional before the project begins.
Commercial clients may also need to plan around business hours and customer access.
If you’re wondering how long the disruption might last, the duration depends on the size and condition of the floor, repairs required, and the selected finish. Floorsanding NZ’s guide explains that smaller residential projects may take around one to two days, while larger homes and commercial projects can require several days or more.
How Can You Prepare for a Cleaner Sanding Project?
There are several simple steps you can take before your floor sanding team arrives:
- Remove furniture from the work area where possible.
- Clear personal belongings from the floor.
- Remove rugs and other floor coverings.
- Discuss any damaged or problematic boards beforehand.
- Ask your flooring professional about dust extraction.
- Keep children and pets away from the work area.
- Allow adequate time for sanding, cleaning and finishing.
- Follow the recommended aftercare instructions once the new finish has been applied.
Good preparation can make the entire project more efficient and help minimise disruption.
Is Professional Floor Sanding Worth It?
For many homeowners, the biggest advantage of professional sanding is not simply reducing dust. It is achieving a smooth, even and properly prepared surface without risking damage to the timber.
Incorrect sanding techniques can leave swirl marks, uneven sections or other imperfections. The wrong sanding grit or excessive sanding can also affect the timber itself.
Professional floor sanding teams have the equipment and experience needed to assess the condition of the floor, select suitable sanding techniques and prepare the surface for finishing.
If your floor has deep scratches, fading, water damage or other visible deterioration, restoration may be a better option than simply living with the damage. You can learn more about the warning signs in 5 Signs Your Timber Flooring Needs Professional Restoration.
Restore Your Timber Floors with Floorsanding NZ
Ready to give your tired timber floors a fresh start?
Floorsanding NZ provides professional floor sanding, restoration, polishing, varnishing, staining and other timber flooring services across Auckland.
Whether you have a residential floor that needs refreshing or a commercial space requiring professional restoration, the team can assess your flooring and recommend the appropriate approach.
Contact Floorsanding NZ today for a quote and discover how professional floor sanding can transform your Auckland timber floors.